Five simple steps · adhesive tabs
PRESS. HOLD. STARE.
A clean application starts with good prep. Take a few extra minutes now for a smoother fit and stronger hold.
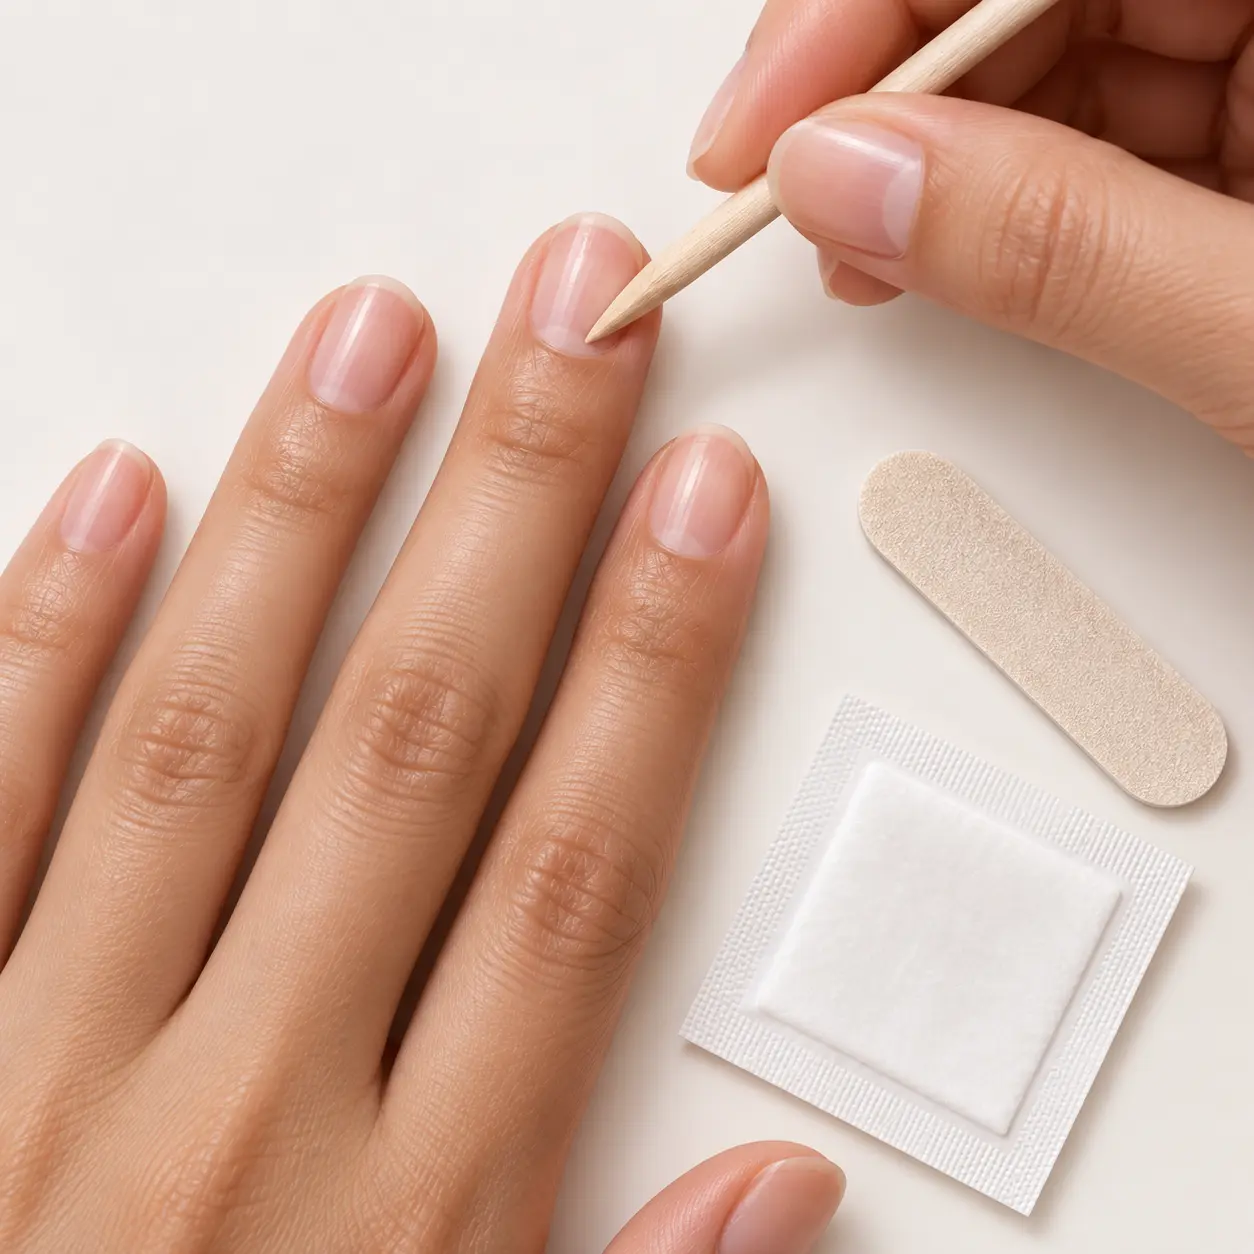
Step 01
Prep
Wash and fully dry your hands. Gently push back cuticles, lightly buff the natural nail, then wipe it clean with the prep pad.
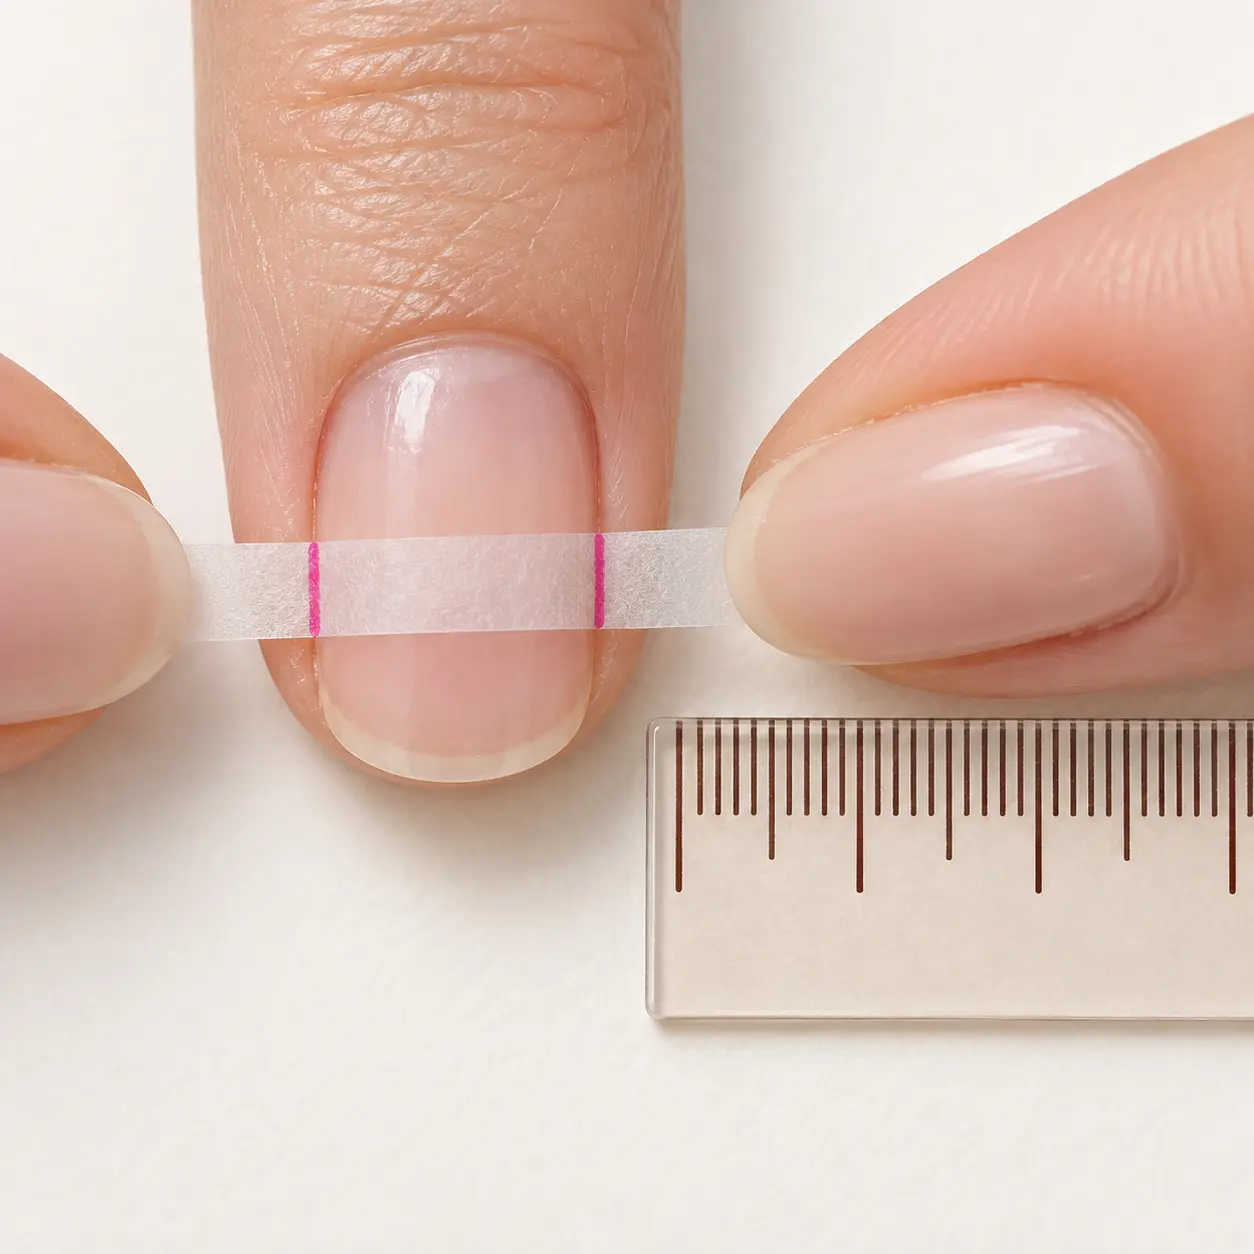
Step 02
Size
Test-fit each press-on. It should cover the natural nail from sidewall to sidewall without touching the skin.
Open the size guide →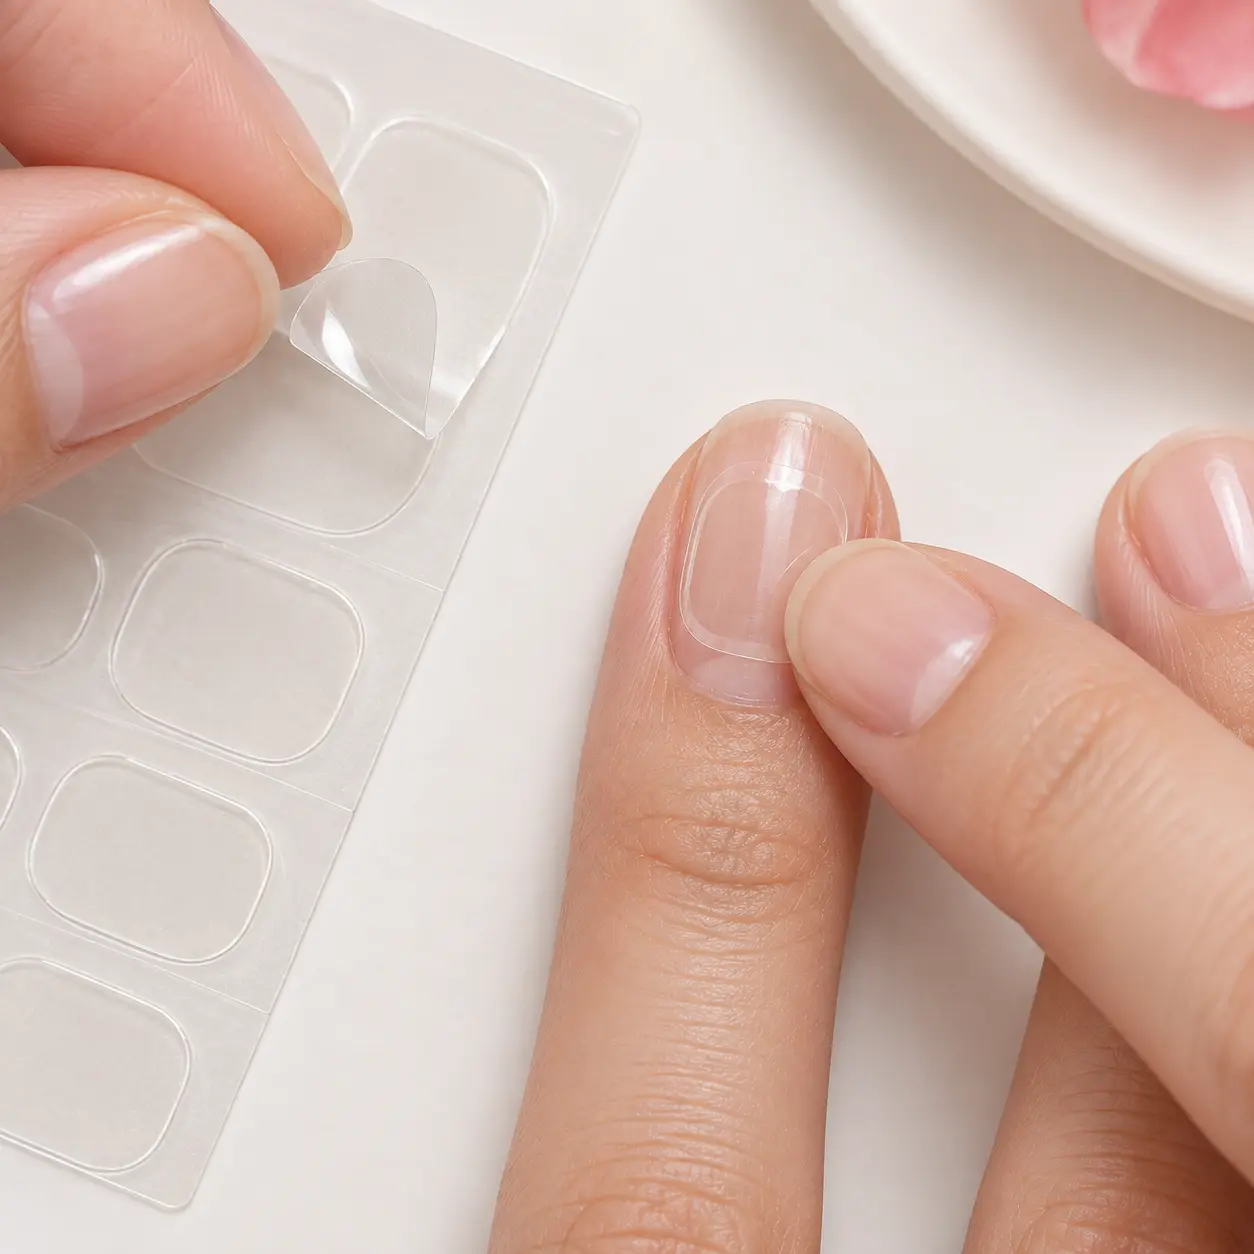
Step 03
Apply
Choose an adhesive tab slightly smaller than your natural nail. Place it on the nail and smooth firmly from the center toward the edges so no air remains.
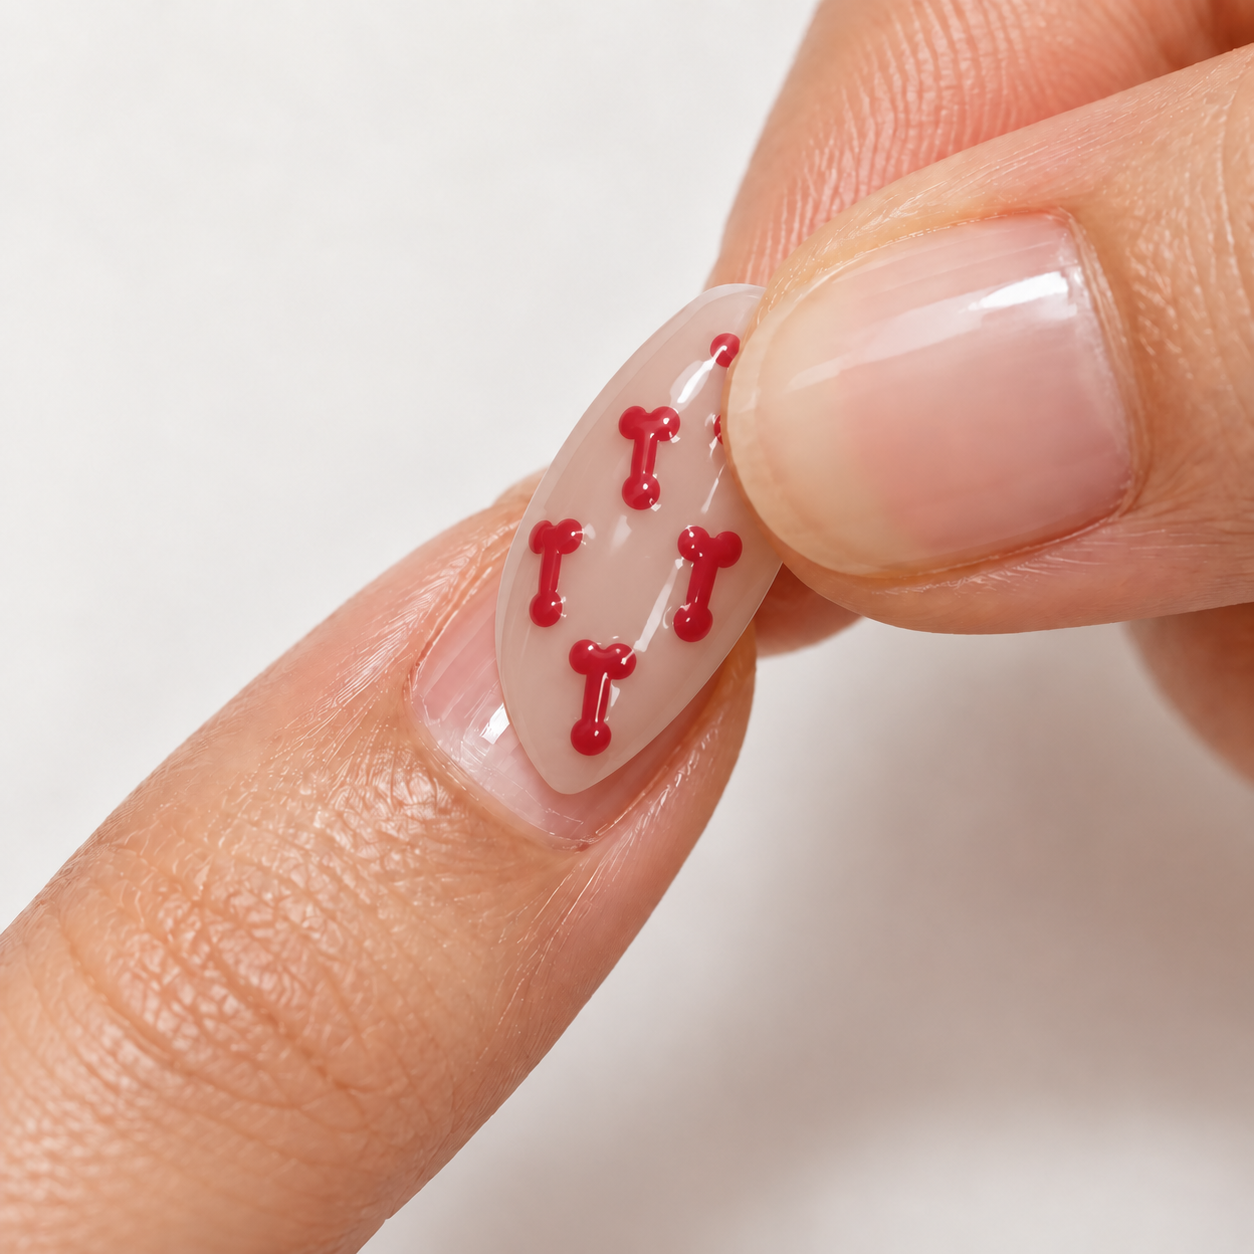
Step 04
Press
Remove the protective film. Align the press-on just above the cuticle, lower it into place, then press firmly across the whole nail for at least 30 seconds.
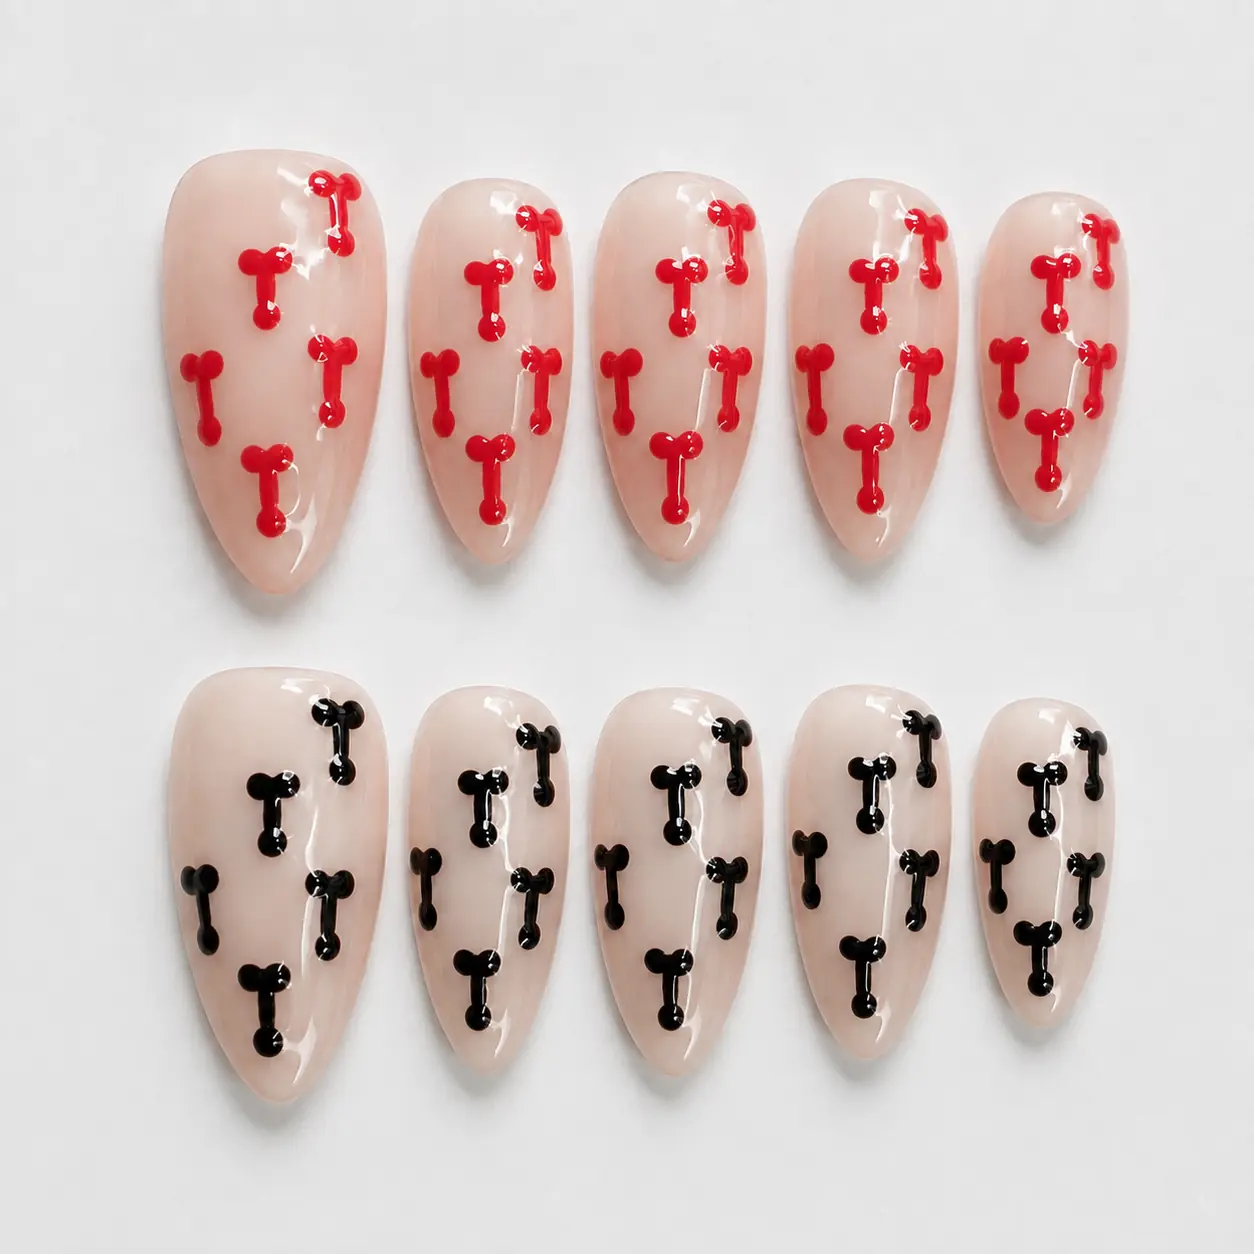
Step 05
Style & reuse
Avoid water immediately after application. When you are ready to remove the set, loosen it gently, clean away the used tab and store the nails for your next look.
Gentle removal
Never pull them off.
Soak your fingertips in warm soapy water with a little oil until the adhesive loosens. Ease up an edge with the wooden stick. If it resists, soak again—never force it.
Roll the remaining tab away from the press-on, let the nail dry completely and return it to the box. Adhesive tabs are single-use.
Ready to press?
Shop the drop